For markers I prefer the Grandt Line #149 housings.
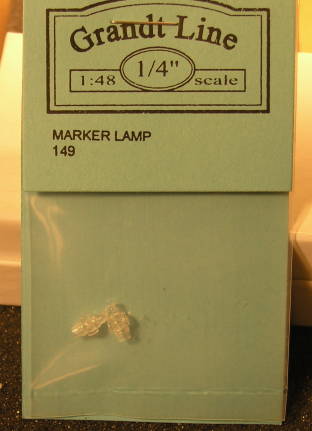
These are molded in clear plastic. I coat the lens area with rubber cement, then paint them black. Rub off the rubber cement and color the lens with a permanent marker. The housing is hollow and a 1.5 volt bulb fits easily.
To mount them to the car, I made brackets.

Before attaching the bracket to the car carefully ream the ring
with a hand held #41 then #39 drills so that the painted
housing slips into it with a little push.
Using a power drill is pretty tricky because if the drill grabs
the ring, the entire bracket will be destroyed, and your fingers
might not do so well either.
Drill #61 for the mounting pin, file the pin to fit the hole.
The brackets are $5.00 per sprue plus $2.00 S&H per order.
Here is a photo of lit markers on a PSC SP caboose.
I couldn't get the camera set properly so that the lights
weren't so bright. Had I been able to do so, you would have
seen the red color to the rear and the green to the side.
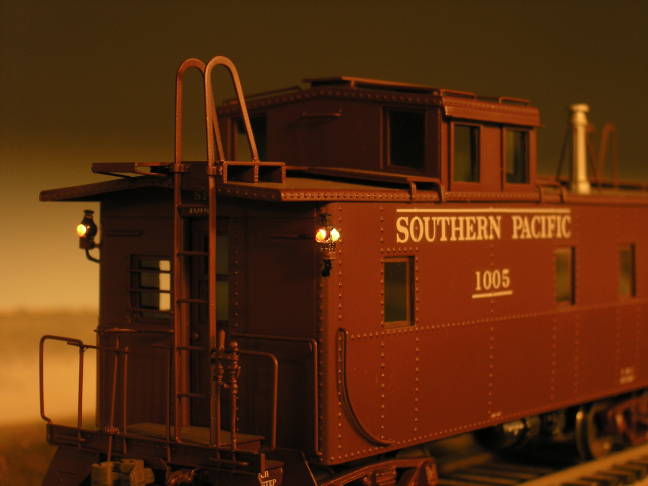
Per SP practice, the front lens is also green (not visible).